Free, Stable, and Custom: How to Use Cloudflare Tunnel with Your Own Domain (Better Than ngrok)
Learn how to set up Cloudflare Tunnel with your custom domain for free, stable URLs that are perfect for development, testing, and production use. A complete guide with working examples.
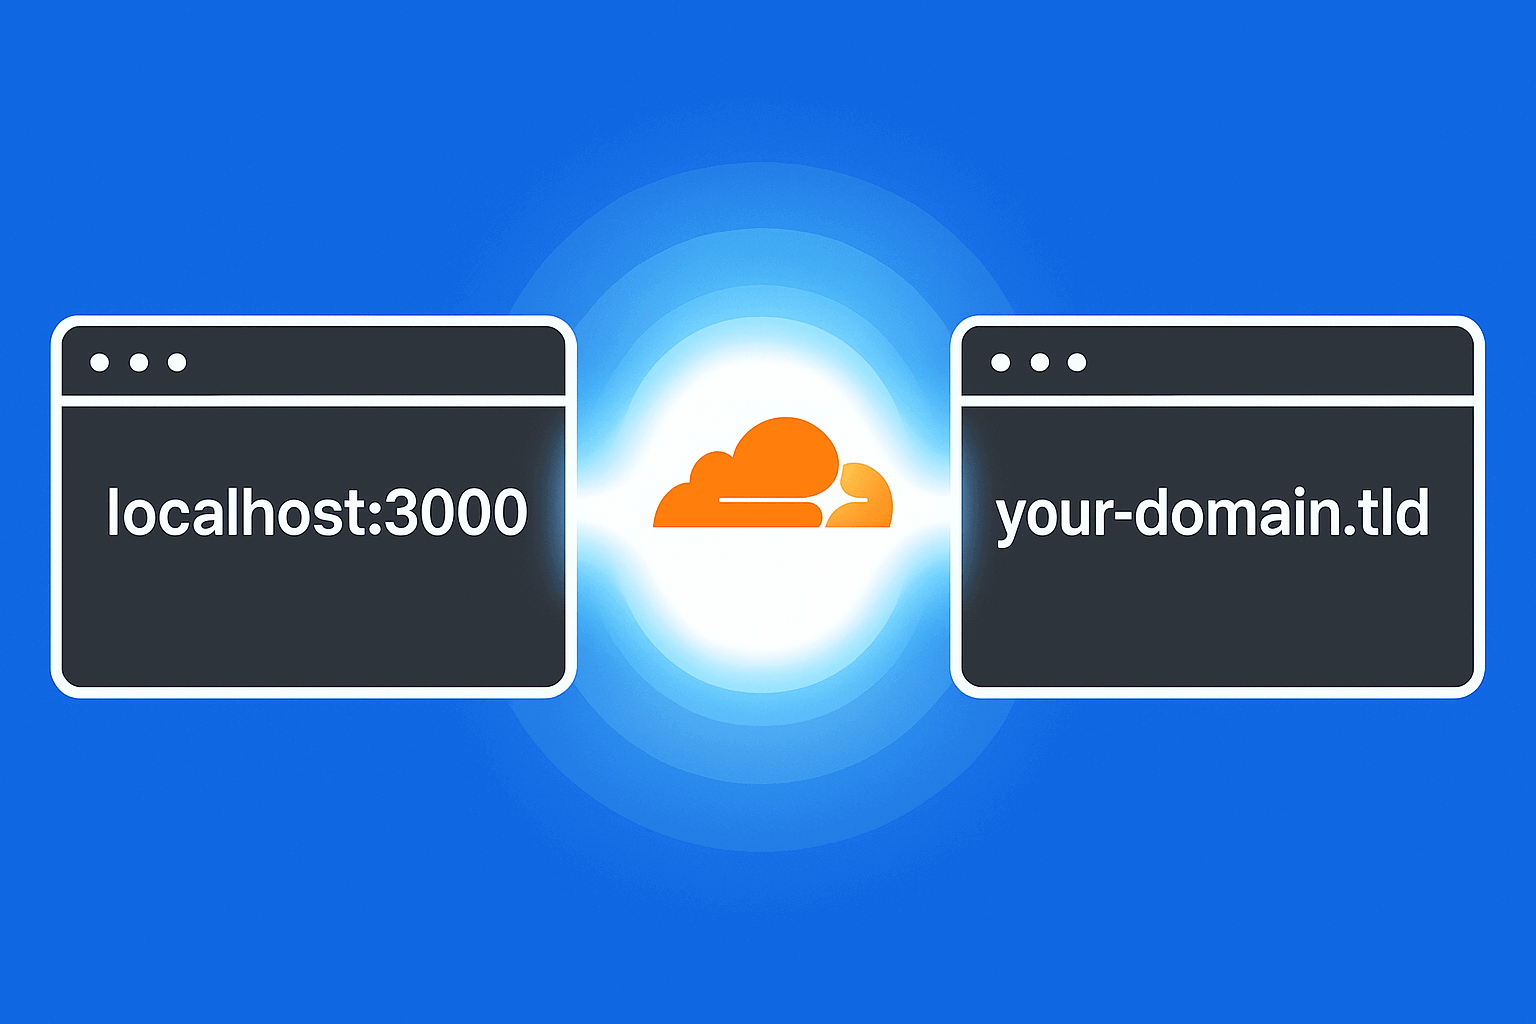
If you've ever used ngrok, you know how helpful it is for exposing local apps to the internet. But ngrok's free tier is limited, especially when it comes to custom subdomains, persistent URLs, and production usage. In this post, I'll show you how to use Cloudflare Tunnel (formerly Argo Tunnel) with your own domain, powered by Cloudflare's free plan.
Why Cloudflare Tunnel?
Before diving into the setup, let's understand why Cloudflare Tunnel is often a better choice than ngrok:
- Free Forever: No monthly costs or usage limits
- Custom Domains: Use your own domain and subdomains
- Persistent URLs: Your URLs stay the same every time
- Full HTTPS Support: Automatic SSL certificates via Cloudflare
- Multiple Tunnels: Run several services simultaneously
- Production Ready: Stable enough for production use
Prerequisites
Before we begin, ensure you have:
- A domain name added to Cloudflare
- Cloudflare nameservers configured for your domain
- A local application running (e.g., on localhost:3000)
- Command line access to your machine
Step 1: Install Cloudflared
Cloudflared is the command-line tunnel agent that creates the secure connection between your local machine and Cloudflare's edge network.
macOS Installation
# Using Homebrew
brew install cloudflare/cloudflare/cloudflared

# Verify installation
cloudflared --version
Ubuntu/Debian Installation
# Add Cloudflare GPG key
curl -fsSL https://pkg.cloudflare.com/cloudflare-main.gpg | sudo gpg --dearmor -o /usr/share/keyrings/cloudflare-main.gpg

# Add repository
echo "deb [signed-by=/usr/share/keyrings/cloudflare-main.gpg] https://pkg.cloudflare.com/cloudflared $(lsb_release -cs) main" | sudo tee /etc/apt/sources.list.d/cloudflared.list

# Update and install
sudo apt update
sudo apt install cloudflared

# Verify installation
cloudflared --version
Manual Installation
If you prefer manual installation, download the latest release from Cloudflare's official releases page.
Step 2: Authenticate with Cloudflare
This step links your local environment with your Cloudflare account and creates the necessary authentication tokens.
cloudflared tunnel loginThis command will:
- Open your default browser
- Ask you to log in to your Cloudflare account
- Prompt you to select the domain you want to use
- Download a certificate to
~/.cloudflared/
Important: The certificate file contains sensitive authentication information. Keep it secure and don't share it.
Step 3: Create Your First Tunnel
Now let's create a named tunnel that will persist across restarts:
cloudflared tunnel create my-app-tunnelThis command will output something like:
Tunnel credentials written to: /home/username/.cloudflared/xxxxxxxx-xxxx-xxxx-xxxx-xxxxxxxxxxxx.json
Created tunnel my-app-tunnel with id: xxxxxxxx-xxxx-xxxx-xxxx-xxxxxxxxxxxx
Note the tunnel ID - you'll need it for the configuration file.
Step 4: Configure Your Tunnel
Create a configuration file to define how your tunnel should work. Create ~/.cloudflared/config.yml:
tunnel: my-app-tunnel
credentials-file: /home/username/.cloudflared/xxxxxxxx-xxxx-xxxx-xxxx-xxxxxxxxxxxx.json

ingress:
  # Route app.yourdomain.com to localhost:3000
  - hostname: app.yourdomain.com
    service: http://localhost:3000

  # Route admin.yourdomain.com to localhost:3001
  - hostname: admin.yourdomain.com
    service: http://localhost:3001

  # Route api.yourdomain.com to localhost:8000
  - hostname: api.yourdomain.com
    service: http://localhost:8000

  # Catch-all rule for unmatched hostnames
  - service: http_status:404
Replace the following:
xxxxxxxx-xxxx-xxxx-xxxx-xxxxxxxxxxxxwith your actual tunnel ID/home/username/with your actual home directory pathyourdomain.comwith your actual domain- Port numbers to match your local services
Step 5: Create DNS Records
Now let's create the DNS records that will route traffic to your tunnel:
# Create DNS record for app.yourdomain.com
cloudflared tunnel route dns my-app-tunnel app.yourdomain.com

# Create DNS record for admin.yourdomain.com
cloudflared tunnel route dns my-app-tunnel admin.yourdomain.com

# Create DNS record for api.yourdomain.com
cloudflared tunnel route dns my-app-tunnel api.yourdomain.com
These commands will automatically create CNAME records in your Cloudflare DNS that point to your tunnel.
Step 6: Start Your Tunnel
Now you can start your tunnel:
cloudflared tunnel run my-app-tunnelYou should see output similar to:
2025-08-13T10:30:00Z INF Starting tunnel tunnelID=xxxxxxxx-xxxx-xxxx-xxxx-xxxxxxxxxxxx
2025-08-13T10:30:00Z INF Version 2025.8.0
2025-08-13T10:30:00Z INF Requesting new quick tunnel on quic://localhost:7844
2025-08-13T10:30:00Z INF +----------------------------+
2025-08-13T10:30:00Z INF |  Your quick tunnel is ready!  |
2025-08-13T10:30:00Z INF |  URL: https://app.yourdomain.com |
2025-08-13T10:30:00Z INF +----------------------------+
Step 7: Test Your Setup
With your tunnel running, test the connection:
- Visit your domain: Navigate to
https://app.yourdomain.comin your browser - Check local logs: Ensure your local application is receiving requests
- Verify HTTPS: Confirm that the connection is secure
Cloudflare Tunnel vs ngrok: Feature Comparison
| Feature | Cloudflare Tunnel (Free) | ngrok (Free) | ngrok (Paid) |
|---|---|---|---|
| Persistent URLs | ✅ Yes | ❌ Random every time | ✅ Yes |
| Custom Domain | ✅ Yes (free) | ❌ Not supported | ✅ Yes |
| HTTPS Support | ✅ Free via Cloudflare SSL | ✅ Yes | ✅ Yes |
| Multiple Tunnels | ✅ Yes | ❌ One at a time | ✅ Yes |
| Team Access | ✅ (via Cloudflare Access) | ❌ No | ✅ Yes |
| CI/CD Friendly | ✅ Yes | ❌ Not ideal | ✅ Yes |
| Web UI | ❌ No | ✅ Yes | ✅ Yes |
| Monthly Cost | $0 | $0 | $8+ |
What Cloudflare Tunnel is Missing (vs ngrok paid)
While Cloudflare Tunnel is excellent for most use cases, it does have some limitations:
- No built-in request inspector: ngrok provides a web UI at
localhost:4040for inspecting requests - Limited TCP tunneling: While Cloudflare supports TCP services, the setup is more complex than ngrok
- Easy on-demand tunnels: ngrok is simpler for quick, temporary tunneling without custom domains
Best Practices
1. Security Considerations
- Use specific hostnames: Don't use wildcards unless necessary
- Limit access: Use Cloudflare Access rules for sensitive services
- Monitor logs: Regularly check tunnel logs for unusual activity
2. Performance Optimization
- Keep tunnels close: Run tunnels on the same machine as your services
- Use appropriate regions: Cloudflare automatically routes to the nearest edge location
- Monitor bandwidth: Be aware of Cloudflare's fair use policies
3. Production Deployment
- Use system services: Always run tunnels as systemd services in production
- Implement monitoring: Set up alerts for tunnel failures
- Backup configurations: Keep your tunnel configs in version control
Conclusion
Cloudflare Tunnel provides a powerful, free alternative to ngrok that's perfect for developers who want:
- Stable, persistent URLs with their own domain
- Professional-grade reliability for production use
- Zero monthly costs with unlimited usage
- Full control over their tunneling setup
With just a few commands, you can have secure, stable URLs that work 24/7 without any monthly fees. Whether you're developing locally, testing in staging, or running production services, Cloudflare Tunnel gives you the tools you need to succeed.
The setup process might seem complex at first, but once configured, it's incredibly reliable and requires minimal maintenance. Plus, with the ability to run multiple tunnels and use your own domain, you'll wonder how you ever lived without it.
Next Steps
Now that you have Cloudflare Tunnel set up, consider exploring:
- Cloudflare Access: Add authentication and authorization to your tunnels
- Load Balancing: Distribute traffic across multiple local instances
- Monitoring: Set up alerts and monitoring for your tunnel health
- Automation: Integrate tunnel management into your CI/CD pipeline
Happy tunneling!